How to Activate WILLER eSIM
Android
IMPORTANT
Please read the "Important Notes Before Activation" carefully before you begin activation.
Activating via manual entry
Please refer to your "Contract Completion Email" or the "Contract Information Page" to view your activation code and necessary setup information.
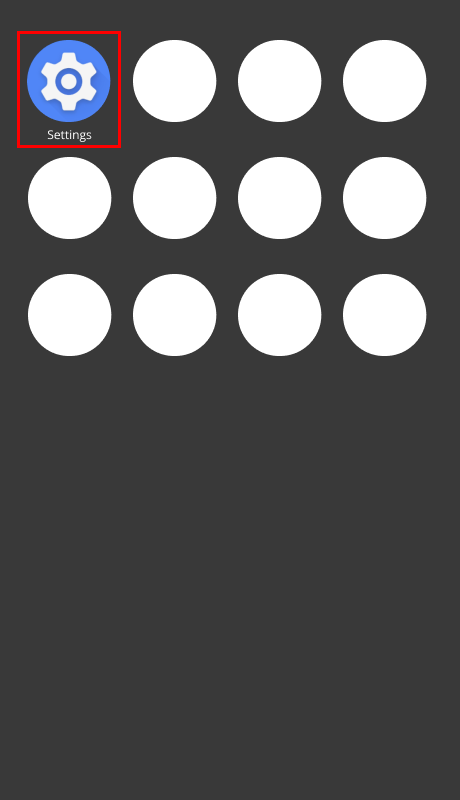
Step 1: Open "Settings."
Step 2: Open "Network and internet"
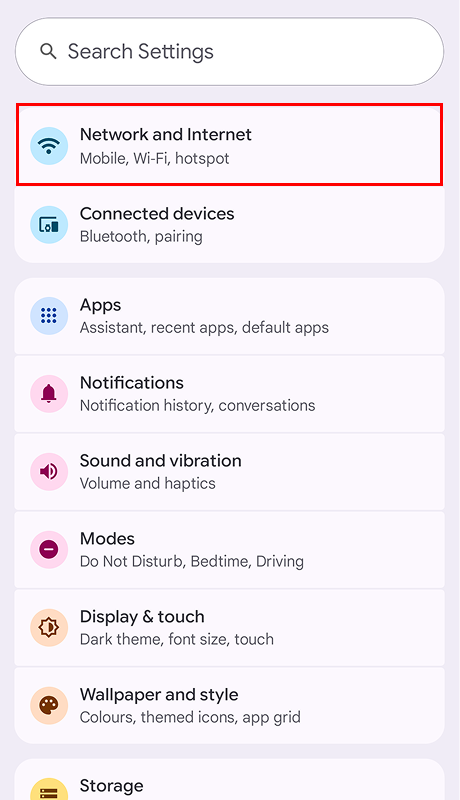
* Display names may vary depending on the device.
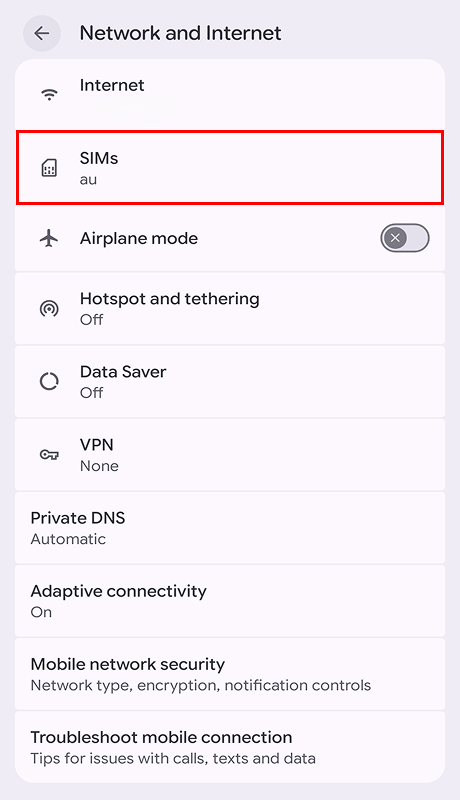
Step 3: Tap "SIMs."
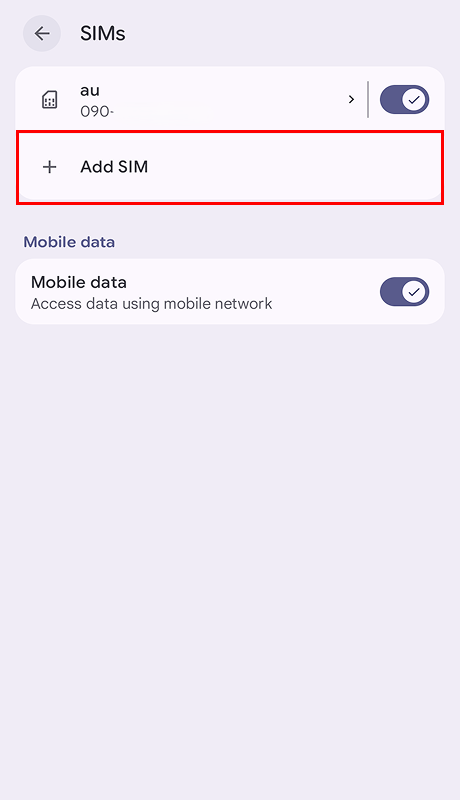
Step 4: Tap "Add SIM."
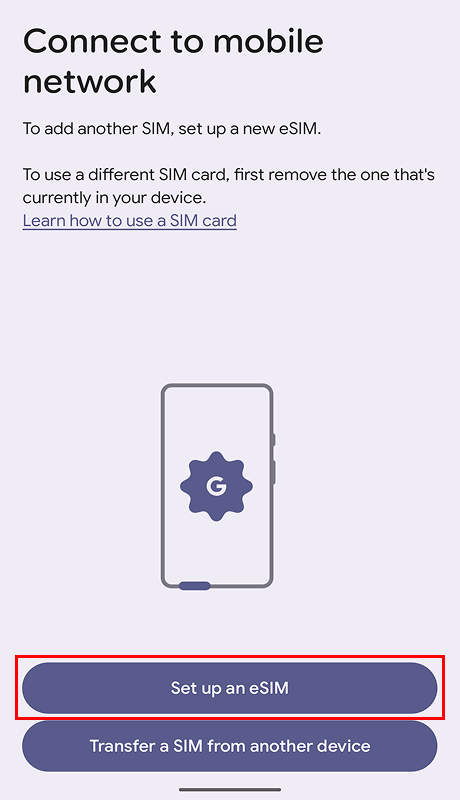
Step 5: Tap "Set up an eSIM."
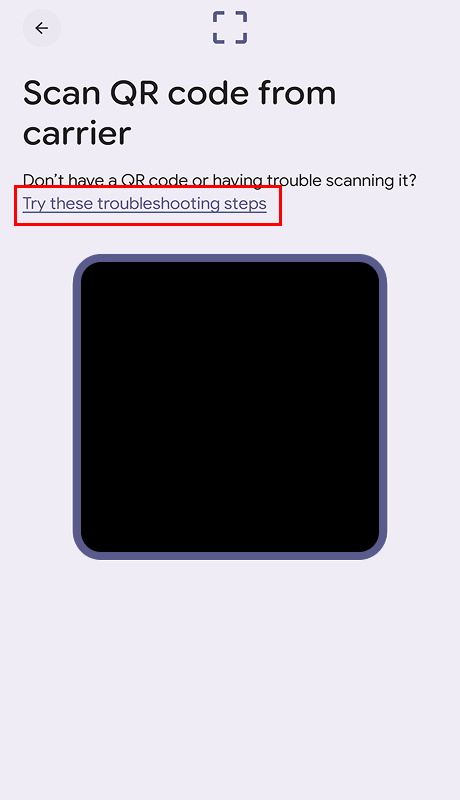
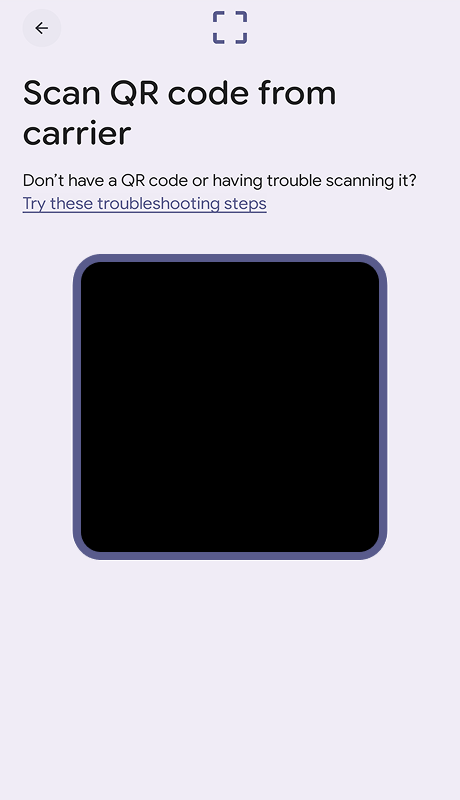
Step 6: Tap "Try these troubleshooting steps."
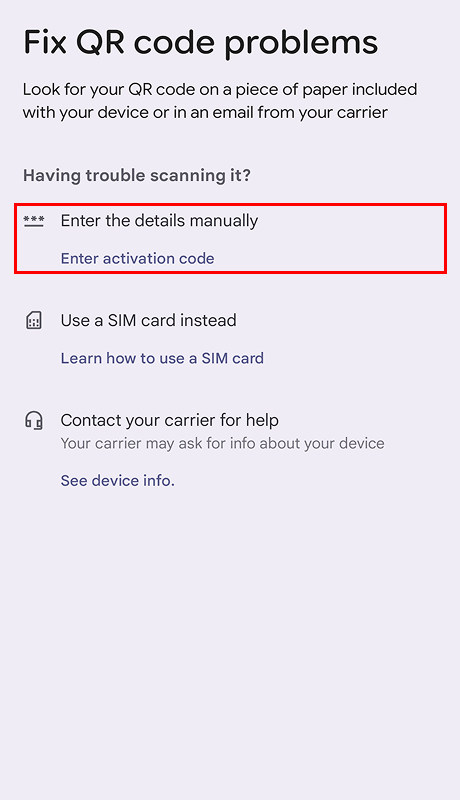
Step 7: Tap "Enter the details manually."
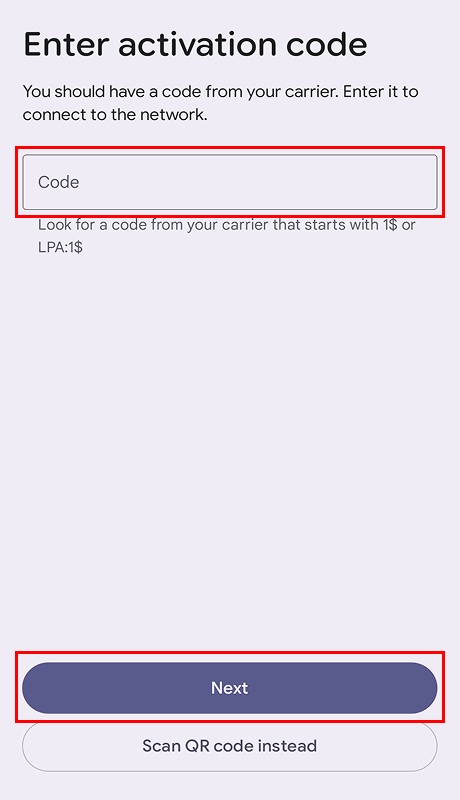
Step 8: Enter the activation code starting with "LPA:1$" and tap "Next."
Step 9: Tap "Set Up."
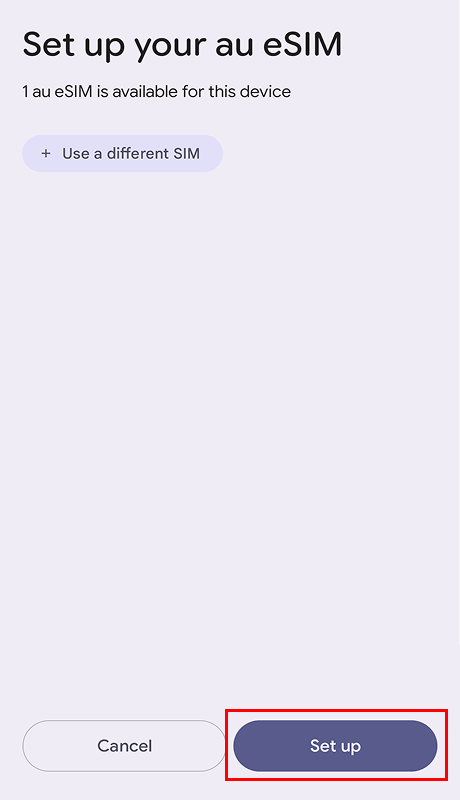
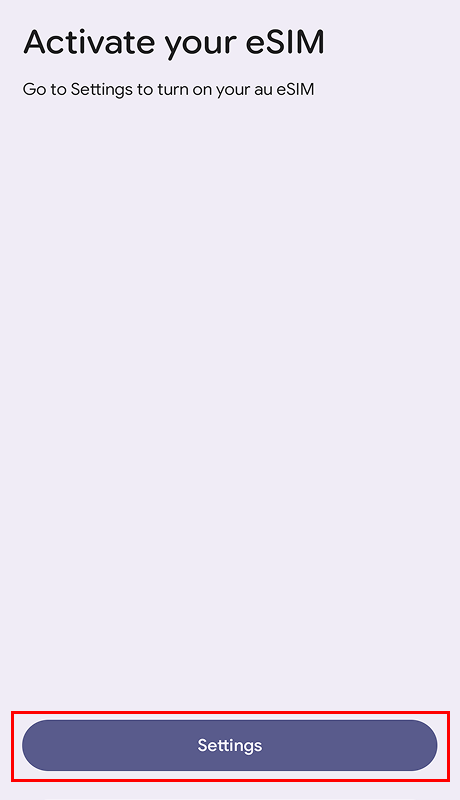
Step 10: Tap "Settings."
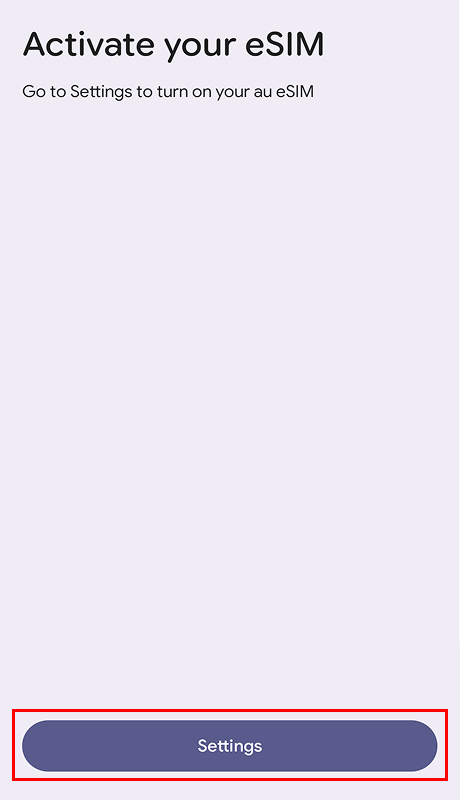
Step 11: Turn on "au" or "WILLER eSIM."
* The eSIM name may appear as "au" or "KDDI". Please proceed with the setup.
Activating with a QR Code
The QR code required for activation can be found in your "Contract Completion Email" or on the "Contract Information Page."
When activating with a QR code, you will need to prepare a separate device to display the code or print it out for scanning.
Step 1: Open "Settings."
Step 2: Open "Network and internet"
* Display names may vary depending on the device.
Step 3: Tap "SIMs."
Step 4: Tap "Add SIM."
Step 5: Tap "Set up an eSIM."
Step 6: Scan the QR code.
Step 7: Tap "Set Up."

Step 8: Tap "Settings."
Step 9: Turn on "au" or "WILLER eSIM."
* The eSIM name may appear as "au" or "KDDI" . Please proceed with the setup.
Setup after arriving in Japan
Step 1: Open "Settings."
Step 2: Open "Network and internet"
* Display names may vary depending on the device.
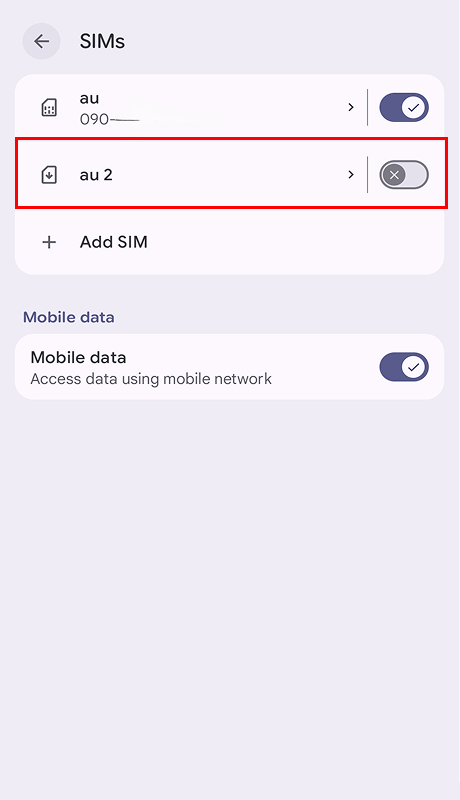
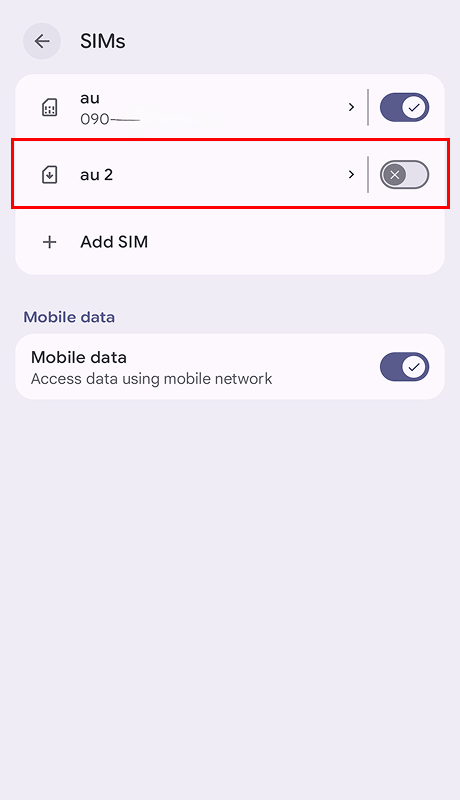
Step 3: Tap "SIMs."
Step 4: Choose "au" or "WILLER eSIM."
Step 5: Turn on "au" or "WILLER eSIM."
*If you cannot connect to multiple networks simultaneously, please switch to the newly added eSIM.
*If you cannot connect to the network, please turn on "Cellular Data." This completes the setup.
APN Settings
1. If you encounter issues with internet connectivity or tethering while using WILLER eSIM, please check your APN settings.
* Depending on your device model, the APN may be displayed as a default option automatically, but 5G connectivity might not be available. If this occurs, please select "4G" in your cellular settings to enable the connection.
2. For some models, if you wish to use tethering, you may need to manually add ",dun" to the "APN Type" field (as it may not be automatically included even when other settings are applied).
* If the "APN Type" field already contains other text, do not delete it. Simply add ",dun" at the end of the existing text.
* If you see the error message "Your carrier does not allow adding APNs of type dun" after entering ",dun," please try entering it in uppercase as ",DUN" instead.
3. KDDI APN settings are configured automatically. However, if APN settings from another MVNO or carrier remain on your device, please delete them using the following steps.
[Settings] > [General] > [VPN & Device Management] > [Delete Configuration Profile]
* Name varies by MVNO
APN Name: uad5gn.au-net.ne.jp
Username: au@uad5gn.au-net.ne.jp
Password: au
Authentication Type: CHAP
FAQ